


Outdoor Landscape Lighting Maintenance Guide
Outdoor Deck Lighting Maintenance
“An ounce of prevention is worth a pound of cure.” – Ben Franklin
The life of your landscape lighting system, along with proper functionality, can easily be extended with proper cleaning, care, and maintenance.
In general, landscape lighting maintenance should not be a daunting task. However, there are a few tasks that you should implement a few times a year, or as they are needed. These small tasks will help you avoid more expensive repairs in the future.
Below are just the basic maintenance tasks for your landscape lighting. Some larger maintenance projects may be necessary based on the particular type of outdoor lighting system you have installed. So it is always good to check with the manufacturer’s website or speak with your professional outdoor lighting installer about any maintenance requirements specific to your system.
Before cleaning or performing outdoor lighting maintenance tasks, be sure to always disconnect your system from the electrical source.
9 Steps to Landscape Lighting Maintenance
1. Clearing Fixtures and Lighting Obstructions
Identify any plants, trees, or shrubs that are too close to or on the fixtures, as well as any that may be blocking the light source. Cut them down to clear the fixtures and obstructions. This will help you avoid any damages to your fixtures, provide the expected illumination, and make your other maintenance and cleaning easier.
2. Inspect Fixtures for Debris
Check each fixture for any debris. You are looking for any dirt, mud, pieces of fallen leaves, or even insects. This will not only help you improve illumination, but also remove potential fire hazards in some cases. You’ll also have the added benefits of increased cleanliness of your outdoor living areas and save costs down the road by lengthening the lifespan of the fixtures.
3. Check for Damage to Fixtures
Every outdoor lighting fixture should be inspected for dents in the metal, broken or cracked lenses, corrosion, or any other damage. If the fixtures are damaged, you need to order replacement parts, or in some cases replace the entire fixture.
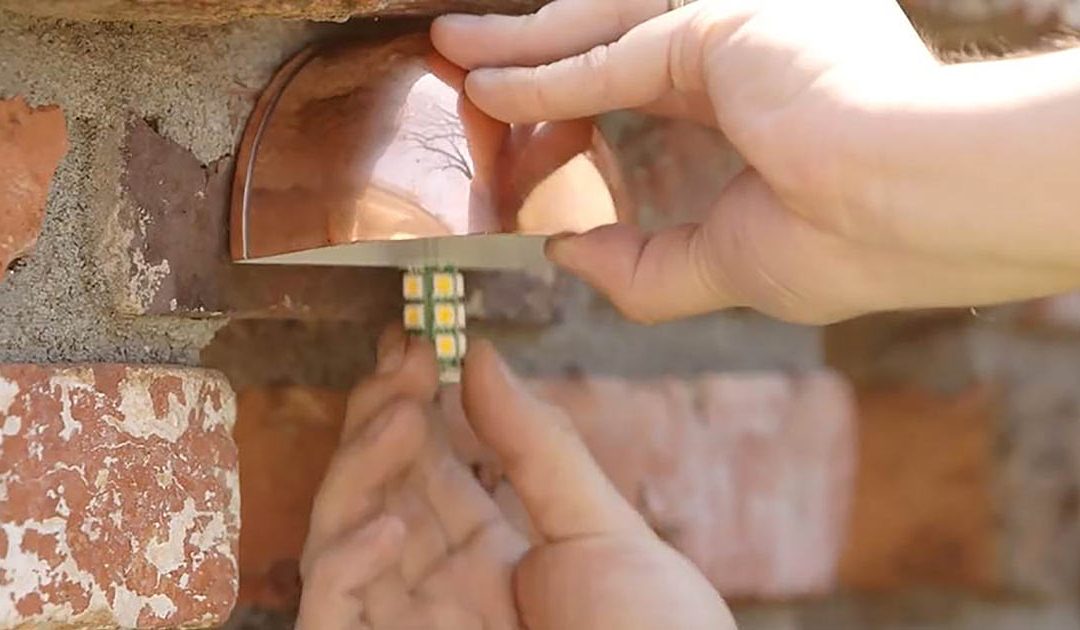
4. Bulb Replacement
If you have an LED landscape lighting system, you probably won’t have much of a need for this step, as the lifespan of the bulbs is so long. Though you may consider replacing LEDs if your lights are not as bright as they used to be. LED lighting maintenance can help keep your bulbs brighter for longer!
This is more important if you have an older system where periodically replacing bulbs is much more common.
If you choose to use a professional to inspect for damages, they can also handle changing the bulbs if you’re uncomfortable with this step. They would also be able to do a more thorough inspection for corrosion within the socket and make the necessary repairs if necessary.
5. Check for Any Damaged or Exposed Cables
Over time, as the ground freezes and thaws, wires can work their way up to the surface. This can also be the case in high-traffic areas. Once exposed, your electrical has the potential to be damaged or become a tripping hazard.
If you find exposed wires, you first need to inspect them for damage. If you are not comfortable inspecting the wires for damage or unable to repair wires that are damaged yourself, you should contact a professional electrician or a professional installer to help you before burying them again.
6. Clean the Plastic or Metal Parts
Having completed the maintenance tasks for functionality, it is time to address the aesthetics of your landscape lighting system.
Using a soft rag and soapy water, start by cleaning the plastic and metal parts.
If you are unable to properly clean the components with just soapy water, you can opt for something stronger. However, be careful that you use something that will not damage the metal. Test the cleaner in an inconspicuous area first to make sure it won’t do any harm. Keep in mind, some substances such as distilled vinegar can be great for removing rust from some metals while doing visible harm to others.
If you are going to polish the metal, be sure to choose one that is formulated for the metal of your fixtures. In some cases, you may want to apply a coat of wax a couple of times a year for protection from the elements. However, if you do, check with the manufacturer’s literature, or consult with your professional landscape lighting installer if it is necessary. If so, on which wax to use.
7. Clean the Glass Lenses
After cleaning the plastic and metal parts, move on to the glass lenses. Again, you may be able to do this with simply a soft rag and soapy water. However, if that is not enough, you may try using CLR and steel wool.
8. Inspect and Adjust the Positioning of Fixtures
Now that the system’s functionality and cleanliness have been addressed, finish by checking the positioning of your fixtures.
Over time you may find your lighting system to be not positioned as it was installed by you or a professional. This could be due to the elements, changes in your landscape itself, or simply needing to move them occasionally for tasks such as mowing.
Simply adjust the angles and positioning to get your system back to the desired lighting effects.
9. Check and Reset Timers
Last, you’ll want to check and make sure your timers are running correctly and that there are no adjustments you want to make for daylight savings or other reasons for lighting changes.
Are You Up For Landscape Lighting Maintenance?
Like your car, your outdoor lighting system needs regular care and maintenance to perform properly. Without meeting those basic maintenance needs, you may be looking at much bigger and more expensive problems in the future.

Bright Ideas with Real Results
-
I saw Bob’s work first hand through a night time demonstration last night. Bob has a great eye for landscape and architectural lighting.
-
“OLP did a great job transforming the nighttime appearance of our home in Maryland. Bob was a joy to work with, and hyper-customer focused. We're very happy.”- Jim
-
Bob was very informative and demonstrated obvious excellence in regards to all outdoor lighting options.
-
From their first visit to deliver an estimate to the final work product, this company was the most professional company we have worked with.
-
Bob McCusker rearranged his schedule several times to accommodate ours. He was extremely professional and well informed about his product. He listened to us and understood what we wanted.
how we bring your property to life
-
Connect & ConsultSchedule your complimentary lighting design consultation with our local design experts.
-
Design and EstimateOur team professionally installs your lights and provides a clear estimate. During the consultation budget and timeline will be discussed but you can learn more through our pricing guide.
-
Install and MaintainOur certified technicians will professionally install your lighting system and maintain it for years to come with our Shine365 program.
